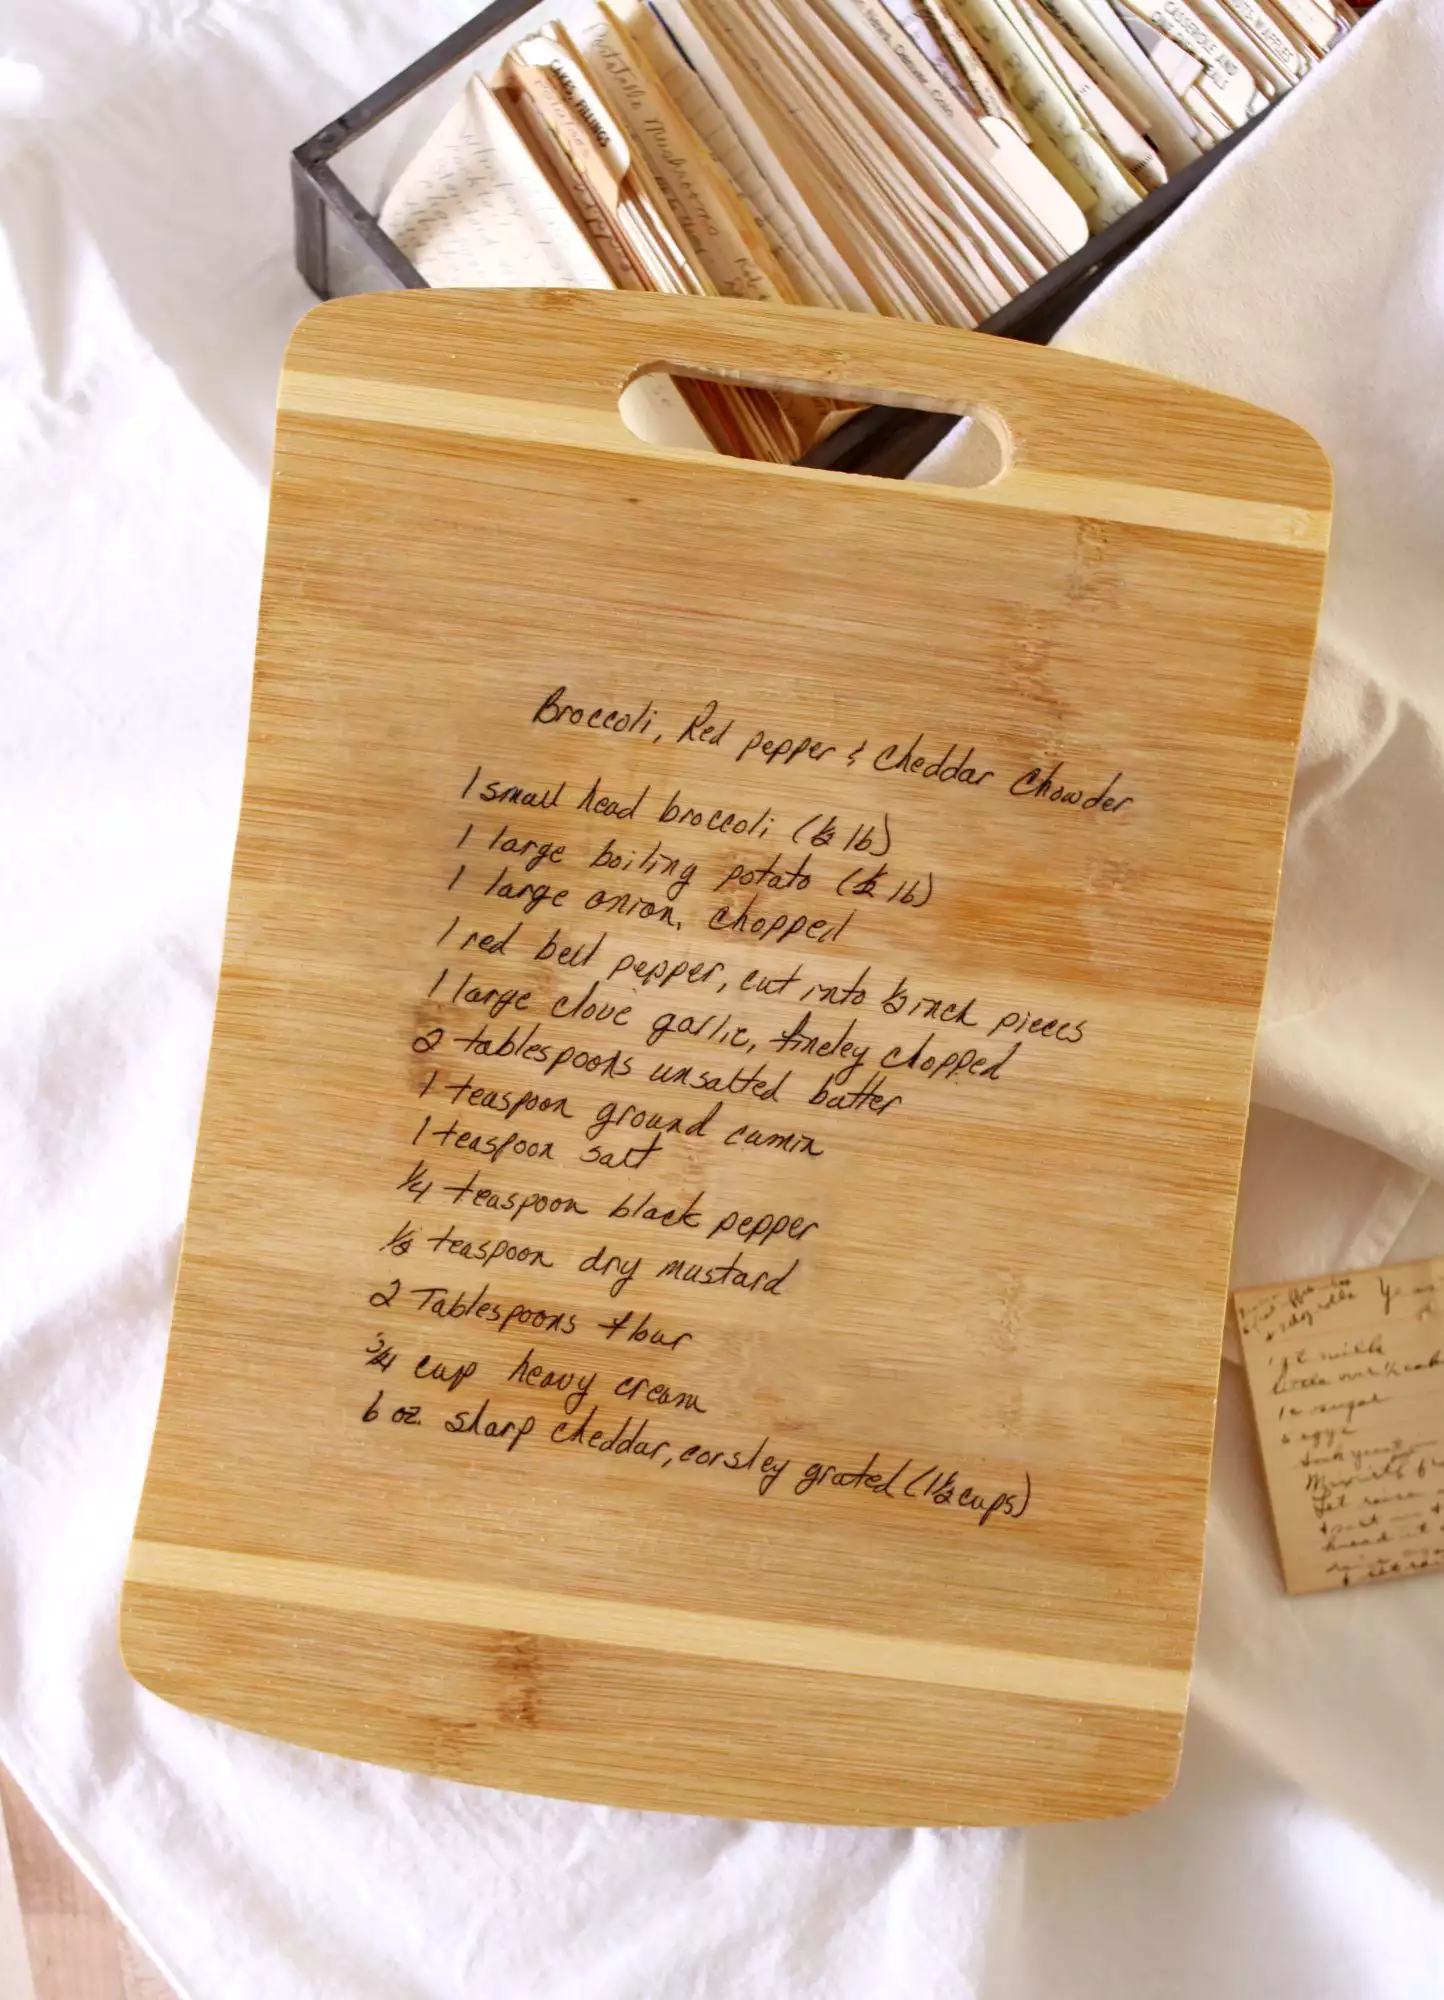
Handwriting is an unique way to honor the memory of a loved one. We love the way a handwritten recipe looks protected in a scrapbook album, transferred onto a pie plate, or printed onto tea towels, however what do you do if you wish to use it in the kitchen area? Here, we discovered a method that’s easy to apply on wood and will look great in your kitchen as a meaningful piece of décor.
As soon as completed, the cutting board makes the ideal present. While it might be appealing to utilize, we do not advise bringing the cutting board into contact with food.
What You’ll Need
Products
Handwritten dish card
Wooden cutting board (Farberware Bamboo Cutting Board).
Craft scissors.
Paintbrush.
Decoupage glue (Mod Podge Matte).
Roller squeegee (Mod Podge Professional Tool Set).
Directions.
Once the dish is scanned and the size has been adjusted to the size of your board, ask them to turn the recipe in reverse so it’s a mirrored image. The final printed image will be unreadable due to the fact that it will have to be laid face down onto your cutting board so that it will check out right-side up as soon as transferred.
Apply a medium coat of decoupage glue to the front of the cutting board, then thoroughly position the dish printed-side down. Once laid, you do not wish to move it around, so take care to discover the positioning before pushing it into the glue. Press the paper into the decoupage glue, then use a roller squeegee to guarantee there aren’t any air bubbles. Be sure you utilize a firm hand while bewaring not to rip the dampened paper. (Tip: You can also use a charge card for this action.) Wipe your squeegee every now and then so you won’t get too much decoupage glue onto the top of the paper. Enable to dry for as much as 72 hours.
You’ll start to see the paper come up, revealing the handwritten dish transfer underneath. As soon as the board is clear of paper and the cutting board is dry, apply two to three more coats of decoupage glue, then let it cure for another 72 hours.